In the Virtual Fax service, a Phone Book stores contact information about fax recipients. This information can include a contact’s name, fax number, address, company and business address, etc.
There are two types of Phone Books:
- Public: a corporate Phone Book assigned to users through their profile, and managed only by administrators. Public Phone Books are created at the site level, and each site can contain several Phone Books.
- Personal: a private Phone Book that’s only accessible and manageable by each user.
Access and Browse Phone Books
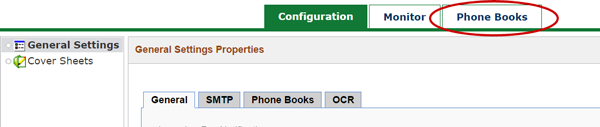
Log in to the admin portal at https://fax.tpx.net/faxadmin. Click the Phone Books tab.
The Phone Book interface opens.

The interface is divided in three sections:
- The left column displays a list of available Phone Books (and their groups).
- The center column allows you to browse through the contacts of a selected group.
- The right column displays the information for a selected contact.
Use the search tool to search for contacts or groups.
Create a Phone Book
Go to the Phone Books interface. If this is your first time creating a Phone Book, click New Phone Book. Otherwise, click the arrow next to New, then select Phone Book.
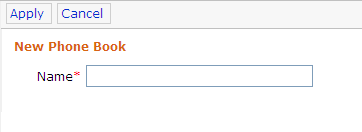
Give the Phone Book a Name, then click Apply. The new Phone Book now appears in the left column, and you can start to populate it.
Manage Phone Books
Once you’ve created a Phone Book, you can manage it as you wish:
- Rename a Phone Book: click on its name in the left column of the interface.
- Delete a Phone Book: click
 next to its name.
Create and Manage a Contact
Go to the Phone Books interface, then click New.
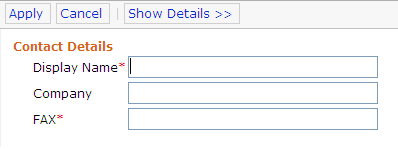
Enter the Display Name (required), Company (optional), and FAX (required), then click Apply. If desired, click Show Details >> to add more information for this contact.
After creating the contact, use the buttons at the top of the interface to Edit or Delete the contact.
Import Contacts
You can import an external contact list to a Phone Book by using a CSV file.
Go to the Phone Books interface. In the left column, select All Members or a group of the Phone Book. Then, click Import Contacts.
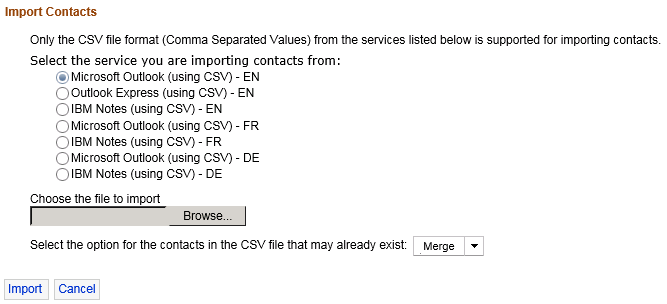
Select the type of application the CSV file was exported from: MS Outlook, Outlook Express, or IBM Notes.
Browse for the file to import. Then, select what to do with contacts that already exist in the Phone Book:
- Merge: The information contained in the imported contact will overwrite the existing contact.
- Add: A new contact will be created.
- Ignore: The imported contact will be ignored.
Click Import. The contacts are now added to the selected Phone Book.
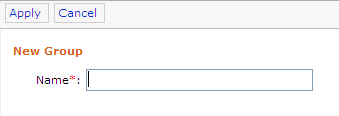
Create and Manage a Group
Go to the Phone Books interface. Click the arrow next to New, then select Group. Enter a Name for the group, then click Apply.
To add a contact to a group, select that contact in the center column, then click the Add to… button. Likewise, Remove from… removes the selected contact from a group.