1. Log in to the TPx Real-Time Application Portal and click the Configuration tab.
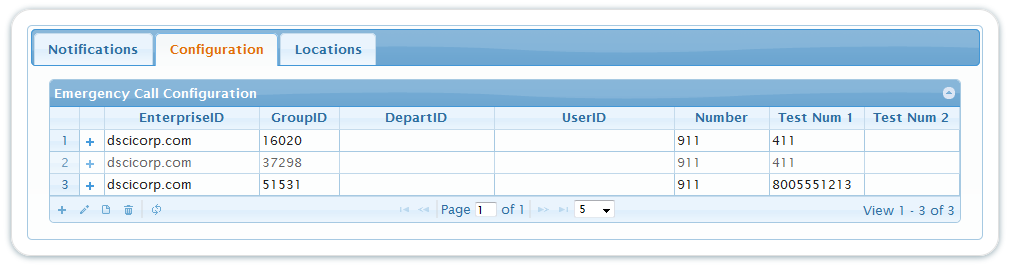
2. To add a new user (row), click the Add ![]() icon on the lower left of the display. Define a GroupID, DepartmentID, and UserID, along with a phone number to alert on and two additional test numbers. The test numbers can be any number you desire. Click Save when done.
icon on the lower left of the display. Define a GroupID, DepartmentID, and UserID, along with a phone number to alert on and two additional test numbers. The test numbers can be any number you desire. Click Save when done.
3. To view an existing user, click View ![]() .
.
4. To modify an existing user, click Edit ![]() or Delete
or Delete ![]() .
.
5. Click + on an existing user’s row to view or modify their notification settings. The Type refers to the form of the alert notification, and the Value is the phone number that will be notified. The date of the call is listed under Last Test, and you can view if the call alert notification has been Acknowledged or Rejected.
6. To reload the grid, click Refresh ![]() .
.