- Log in to the UCx Web Portal at ucx.telepacific.com.
- On the Profile home page, click Schedules. The Schedules page opens and displays your existing schedules.
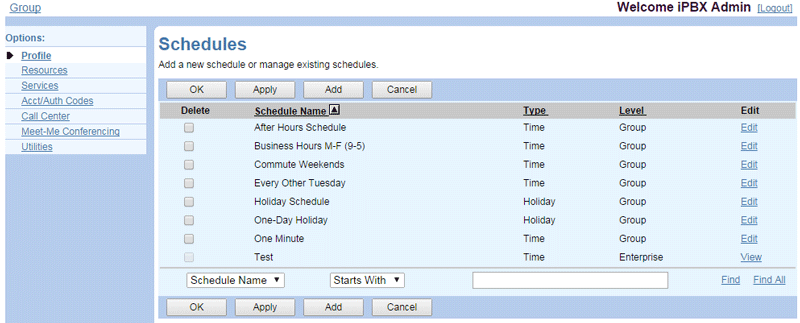
- Locate the schedule you wish to modify, and click Edit.
NOTE: If you’re logged in with a user account (not as an admin), you can view group- and enterprise-level schedules but not modify them.
- The Schedule Modify page appears with details for the selected schedule.
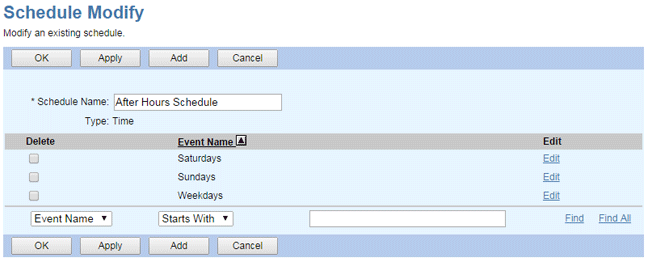
- To change the schedule’s name, type the new name in the Schedule Name box. Click Apply to save your changes.
- To add an event to the schedule, click Add. The Event Add page appears.
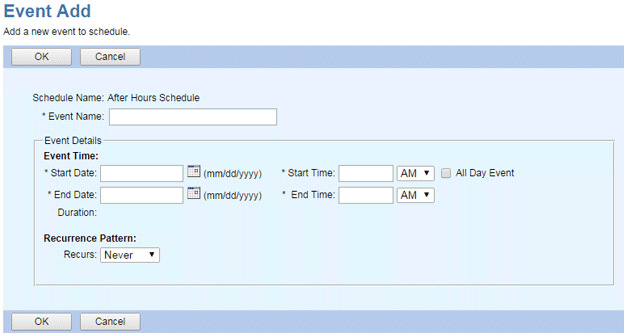
Enter the Event Name, Start and End Date, and Start and End Time (or specify All Day Event). Select the Recurrence Pattern (Never, Daily, Weekly, Monthly, or Yearly) and its Recurrence Range. Click OK to save your changes, or Cancel to return to the previous page without saving.
- To modify an event on the schedule, click the Edit link in the row of the event to modify. The Event Modify page appears. Follow the instructions used to add a new event (see step 5, above).
- To delete an event from the schedule, check the Delete box in the row of the event to delete, then click Apply or OK. NOTE: This operation cannot be undone.
NOTE: You can create up to 20 events in a schedule. To add more than 20 events, create as many additional schedule(s) as needed; the number of schedules is not limited.