Follow these three steps to record a new greeting through a phone and add it to an Auto Attendant menu or submenu. You can also use a pre-recorded WAV file for the greeting if it meets TPx’s specifications; if so, skip ahead to Step 2 below.
Step 1: Record a New Greeting From a Phone
Before You Begin:
- Be sure you are receiving voice mails as email copies. Click here for setup instructions.
- Have your Auto Attendant script prepared in advance.
- Put your phone on Do Not Disturb (DND).
- Find a quiet room to record your new greeting in.
- Using a phone that is not yours, call your extension and let it go to voicemail.
- At the beep, record the new Auto Attendant greeting as a voice message. If you make a mistake, don’t hang up; just press # and start again.
- Hang up when you’ve successfully recorded the message.
- You will receive an email from [email protected] with an MP3 file attached. Save the MP3 file to your computer.
Step 2: Convert MP3 file to WAV file
-
- Install Audacity from audacityteam.org/download
-
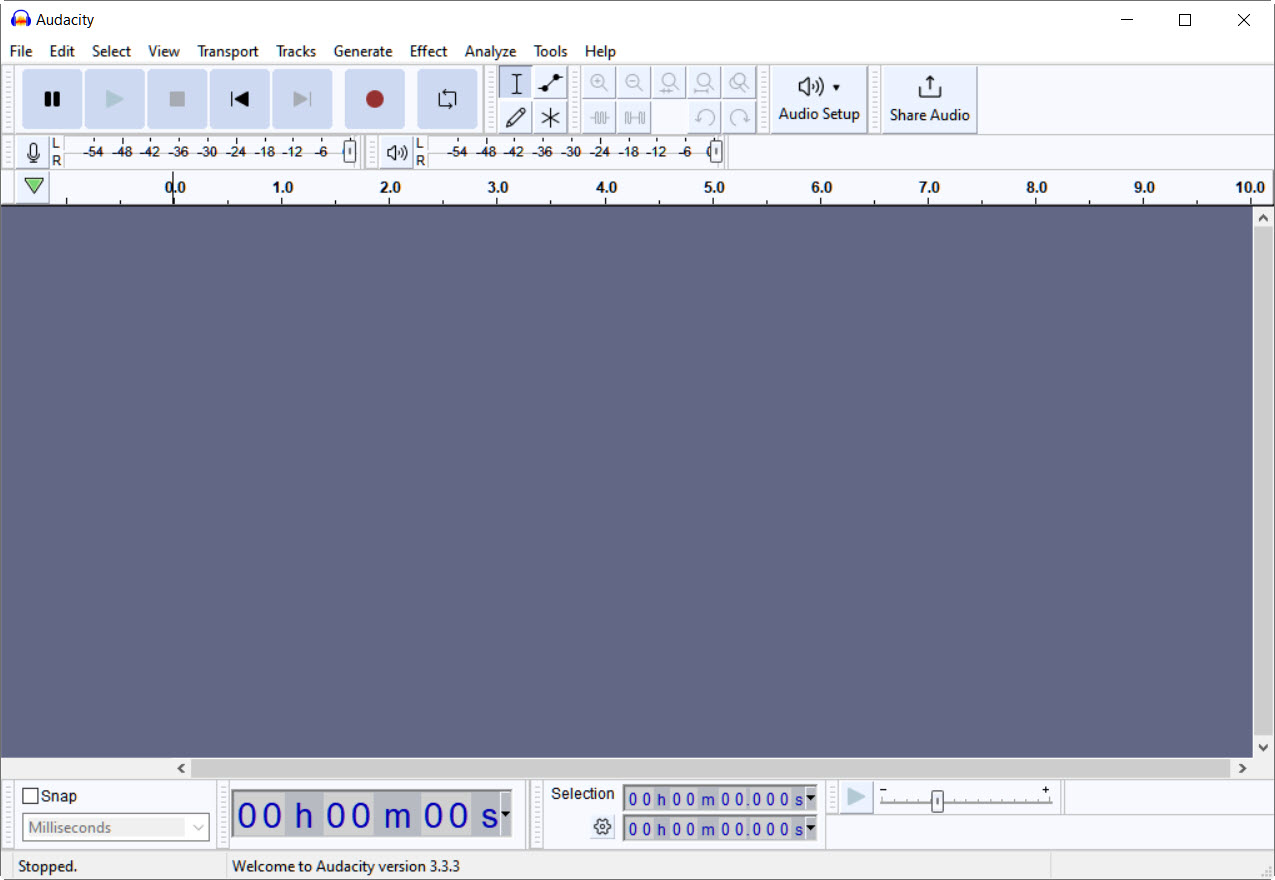
- Open Audacity
![]()
-
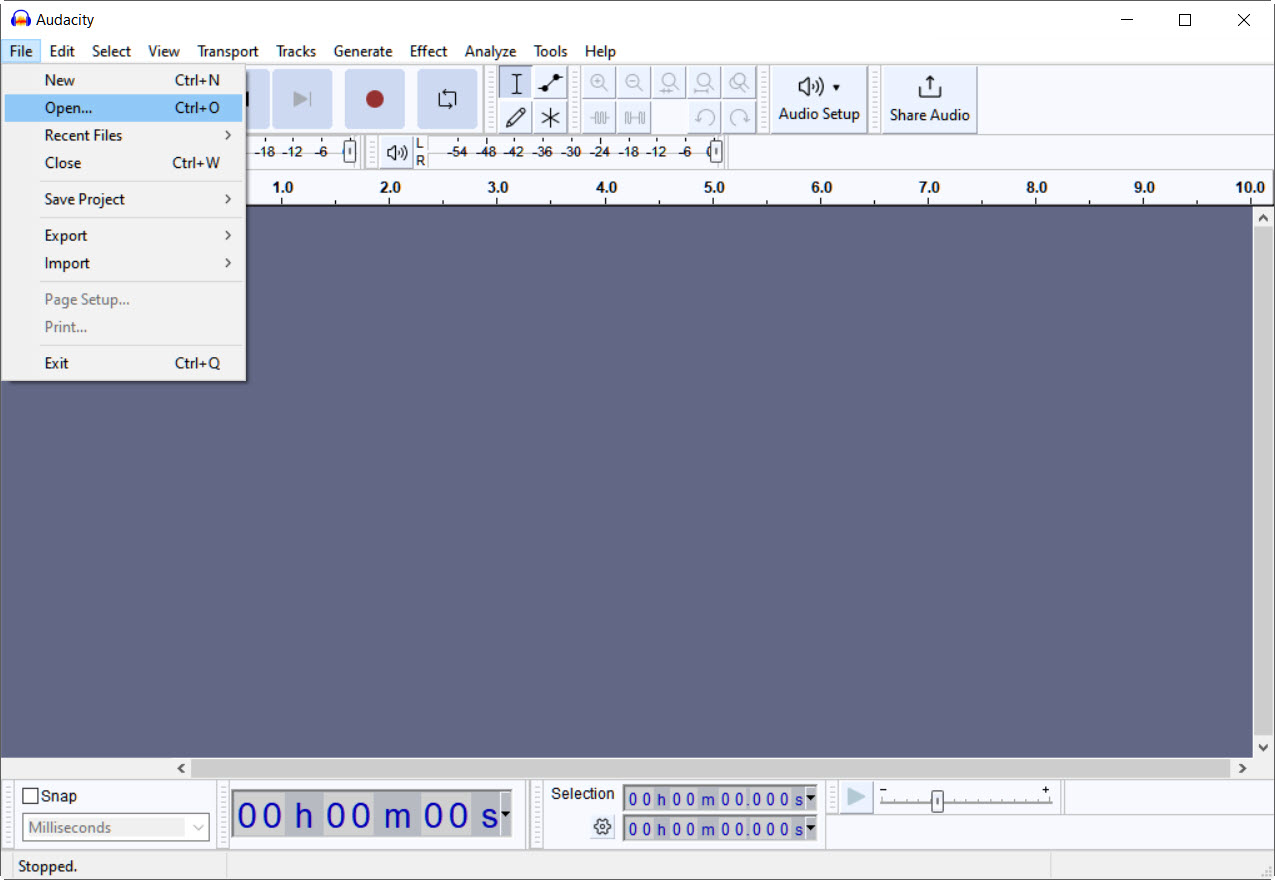
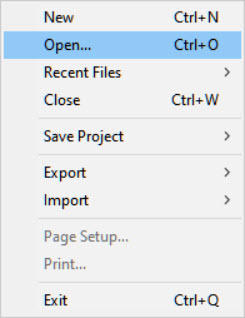
- Select File
-
- Select Open
-
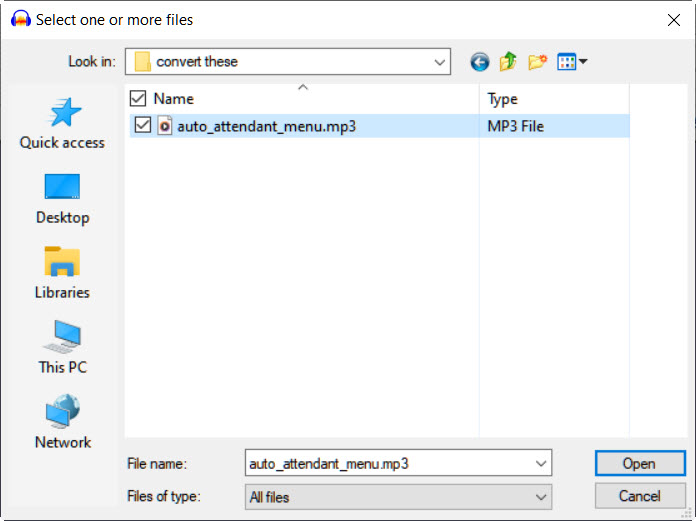
- Select the file you want to convert
- Select Open
-
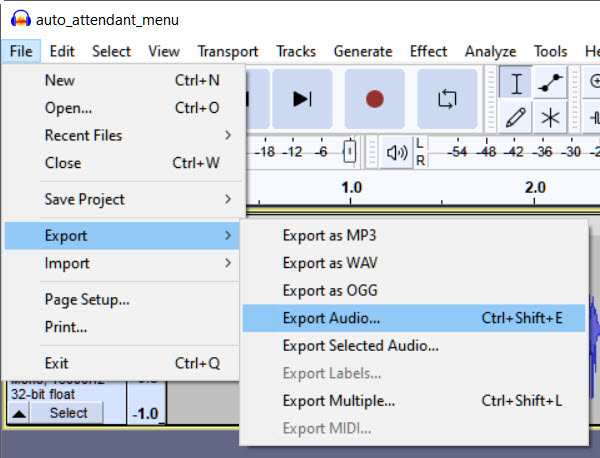
- Select File
- Select Export
- Select Export Audio
-
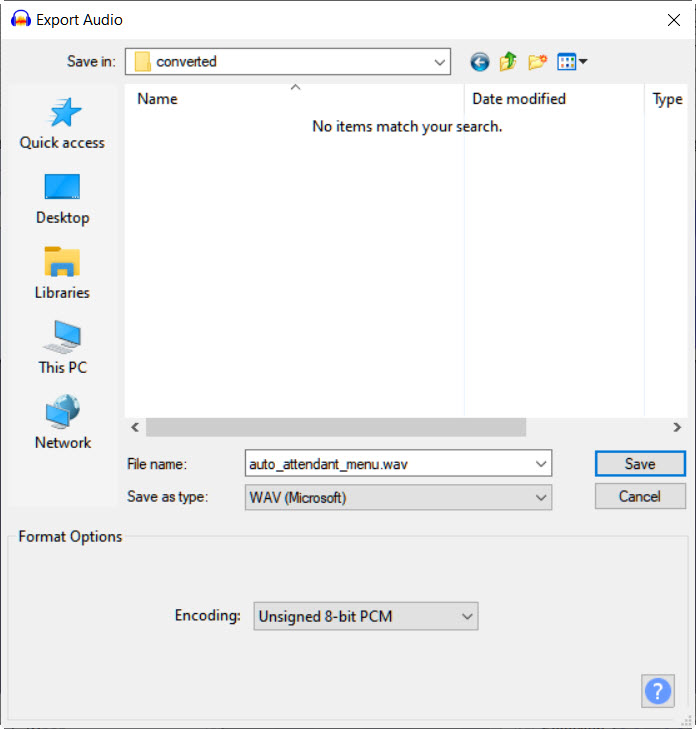
- Name the file
- Select Save as type: WAV (Microsoft)
- Select Encoding: Unsigned 8-bit PCM
- Select Save
-
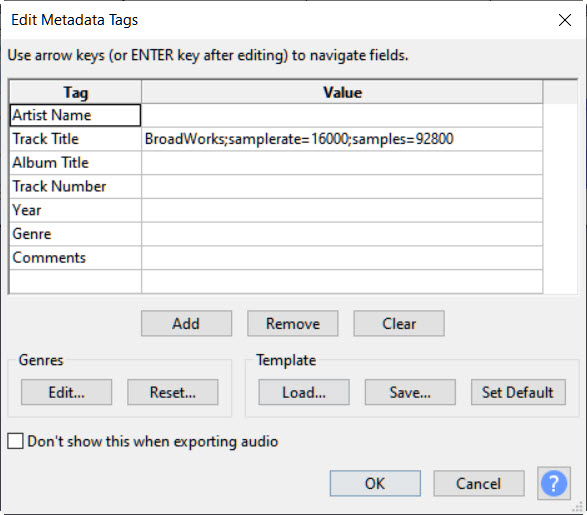
- If you see a pop-up window, select OK
Step 3: Upload the Greeting
- Log in to the UCx Web Portal at ucx.telepacific.com with your group admin credentials.
- On the Group home page, select Services on the left-hand menu. Then, on the Group → Services page, select Auto Attendant.
- The Auto Attendant page lists all Auto Attendants currently configured for your group. On this list, locate the Auto Attendant you wish to modify, and select Edit.
- The Profile page for the selected Auto Attendant will open. Under the Basic profile, select Announcement Repository.
- On the Announcement Repository page, select Add.
- In the Name text box, enter the name that will be used to identify the announcement.
- Select Choose File and select the WAV file for the new announcement.
- Select OK to save changes and upload the file.
Step 4: Add the Greeting to Your Auto Attendant
- While in the UCx Web Portal, go back to Services in the Options menu, then select Auto Attendant.
- Locate the Auto Attendant you wish to modify, and select Edit.
- Select the menu or submenu to update:
- To update a menu: Select Menus, then select one of the following options as appropriate: Business Hours Menu, After Hours Menu, or Holiday Menu.
- To update a submenu: Select Submenus, then select the appropriate submenu.
- Select Personal Greeting and select the new announcement in the pull-down box.
- Select OK or Apply to save changes.