You can add or remove speed dial numbers in the UCx Web Portal or in the Call Center Client. The updates will appear in both places. However, the updates that you make in the web portal will not appear in Call Center until your next sign-in.
Add a Speed Dial Entry
- In the Speed Dial panel of the Contacts pane, click Edit
 . The Edit Speed Dials dialog box appears.
 - Click Add. A new line is added below the existing entries, allowing you to define a new entry.
- From the Code drop-down list, select a speed dial code.
- In the Phone Number text box, enter the phone number to assign to the code.
- In the Description text box, enter a description that allows you to identify the entry.
- To save changes, click anywhere in the dialog box outside the entry.
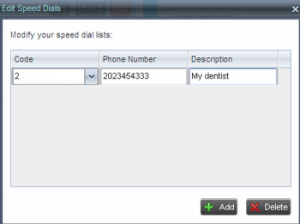
Modify a Speed Dial Entry
- In the Speed Dial panel of the Contacts pane, click Edit . The Edit Speed Dials dialog box appears.
- Double-click the entry to modify. The entry becomes editable.
- Modify the information as required.
- To save changes, click anywhere in the dialog box outside the entry.
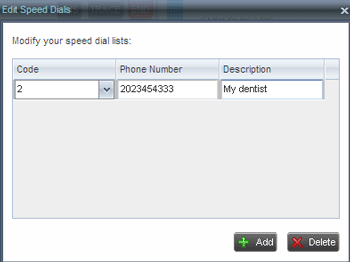
Delete a Speed Dial Entry
- In the Speed Dial panel of the Contacts pane, click Edit . The Edit Speed Dials dialog box appears.
- Select the entry to delete and click the Delete